How to Upgrade the BMW Premium Navigation CIC
Today we're gonna cover the procedure that allows you to upgrade your navigation system's maps to the 2014-1 version. In order to do so, you'll first need the DVD set from your local BMW dealership and an FSC code that allows you to install them. This FSC code is obtainable from your dealer, based on your car's VIN number.So, in order to install the maps, first you must turn on your engine. During the whole process the engine must be kept running, to avoid any problems. You should also know that the entire operation will take a couple of hours (less if you're using USB drives) so make sure you have enough gas in the tank.
After starting the engine, insert the first DVD into your car's system. The on-board computer will detect the new maps and ask for the FSC code that you'll then insert using the iDrive controller.
From here on you'll just have to wait for the disc to be copied. This will take a couple of hours but you will need to come back in the mean time to introduce the next disc. After the third DVD is copied, the system will reboot.
That's the conventional way to do it. Another way is to used USB drives. These can be provided by the dealership or you can copy the contest of your DVDs on USB devices using a PC or Mac. This way is faster as the USB read speed is faster than on a DVD and it cancels out the disk read errors.
To do so you can either use one USB flash with over 16 GB of storage (so that all 3 DVDs fit on it) or 3 drives of at least 8 GB that you can interchange afterwards. The disks have to be FAT32 formatted.
USB Instructions:
- Copy all the content from each disk in one folder (one folder/each disk) ex: “Disk 1”, “Disk 2”, “Disk 3”
- Each folder (ex Disk 1), must contain one “config.nfm” file and one “pkgdb” folder.
- Copy all three folders to your 32 GB USB stick (or separately on each stick if you're using 3 sticks)
- Move the file/folder found in the “DISK 1” directory (config.nfm and pkgdb) on the root of the USB drive
- Insert the USB stick into the USB port in the Glovebox (the center console will NOT work) as seen in the first photo of the gallery.
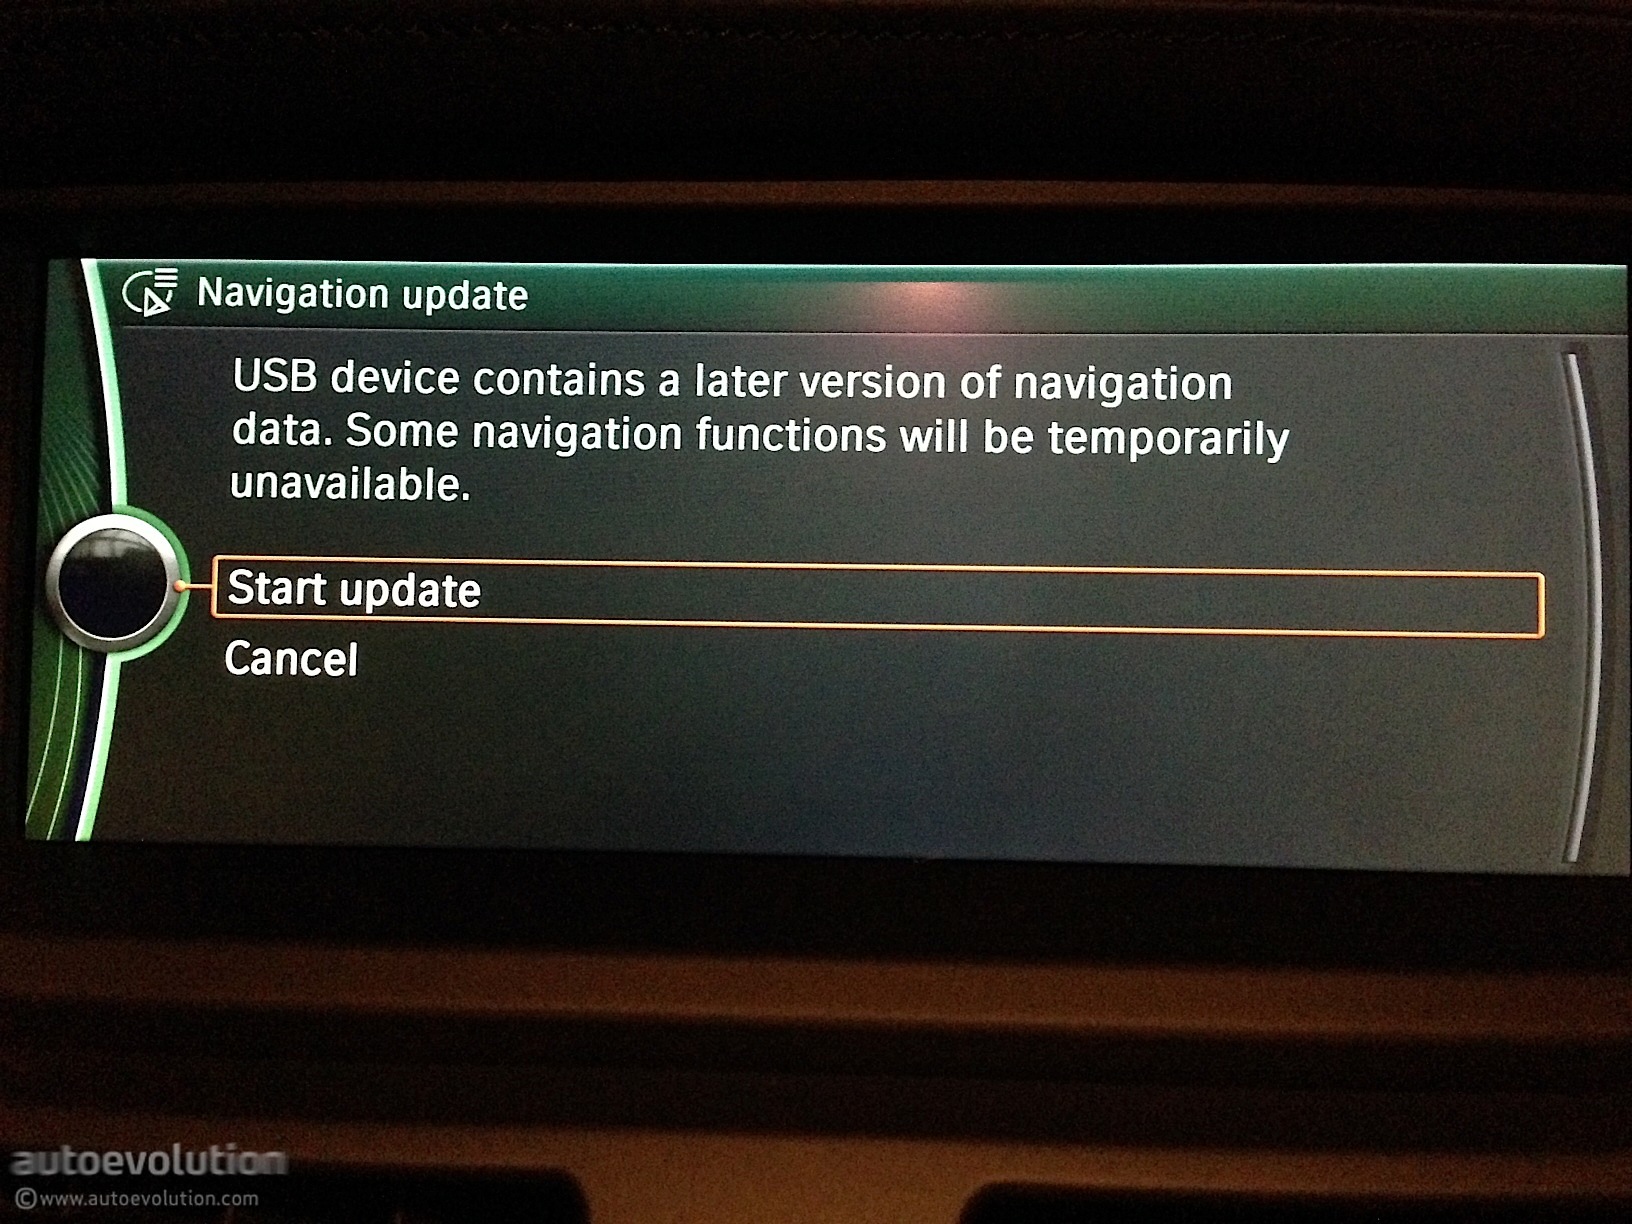
- Follow the onscreen prompts, it will prompt for the FSC code
- The update will begin to load
- If you're using one 32 GB stick, when it prompts for the second USB, remove the USB stick, reconnect to your computer and delete config.nfm and pkgdb from the root of the drive. Move the file/folder found in the "Disk 2" directory (config.nfm and pkgdb) on the root of the USB drive Reinsert USB into the glovebox and allow it to continue updating . If you're using 3 sticks, simply insert the next stick when prompted.
- When it asks for the third USB, repeat step 8 but use the "Disk 3" folder.
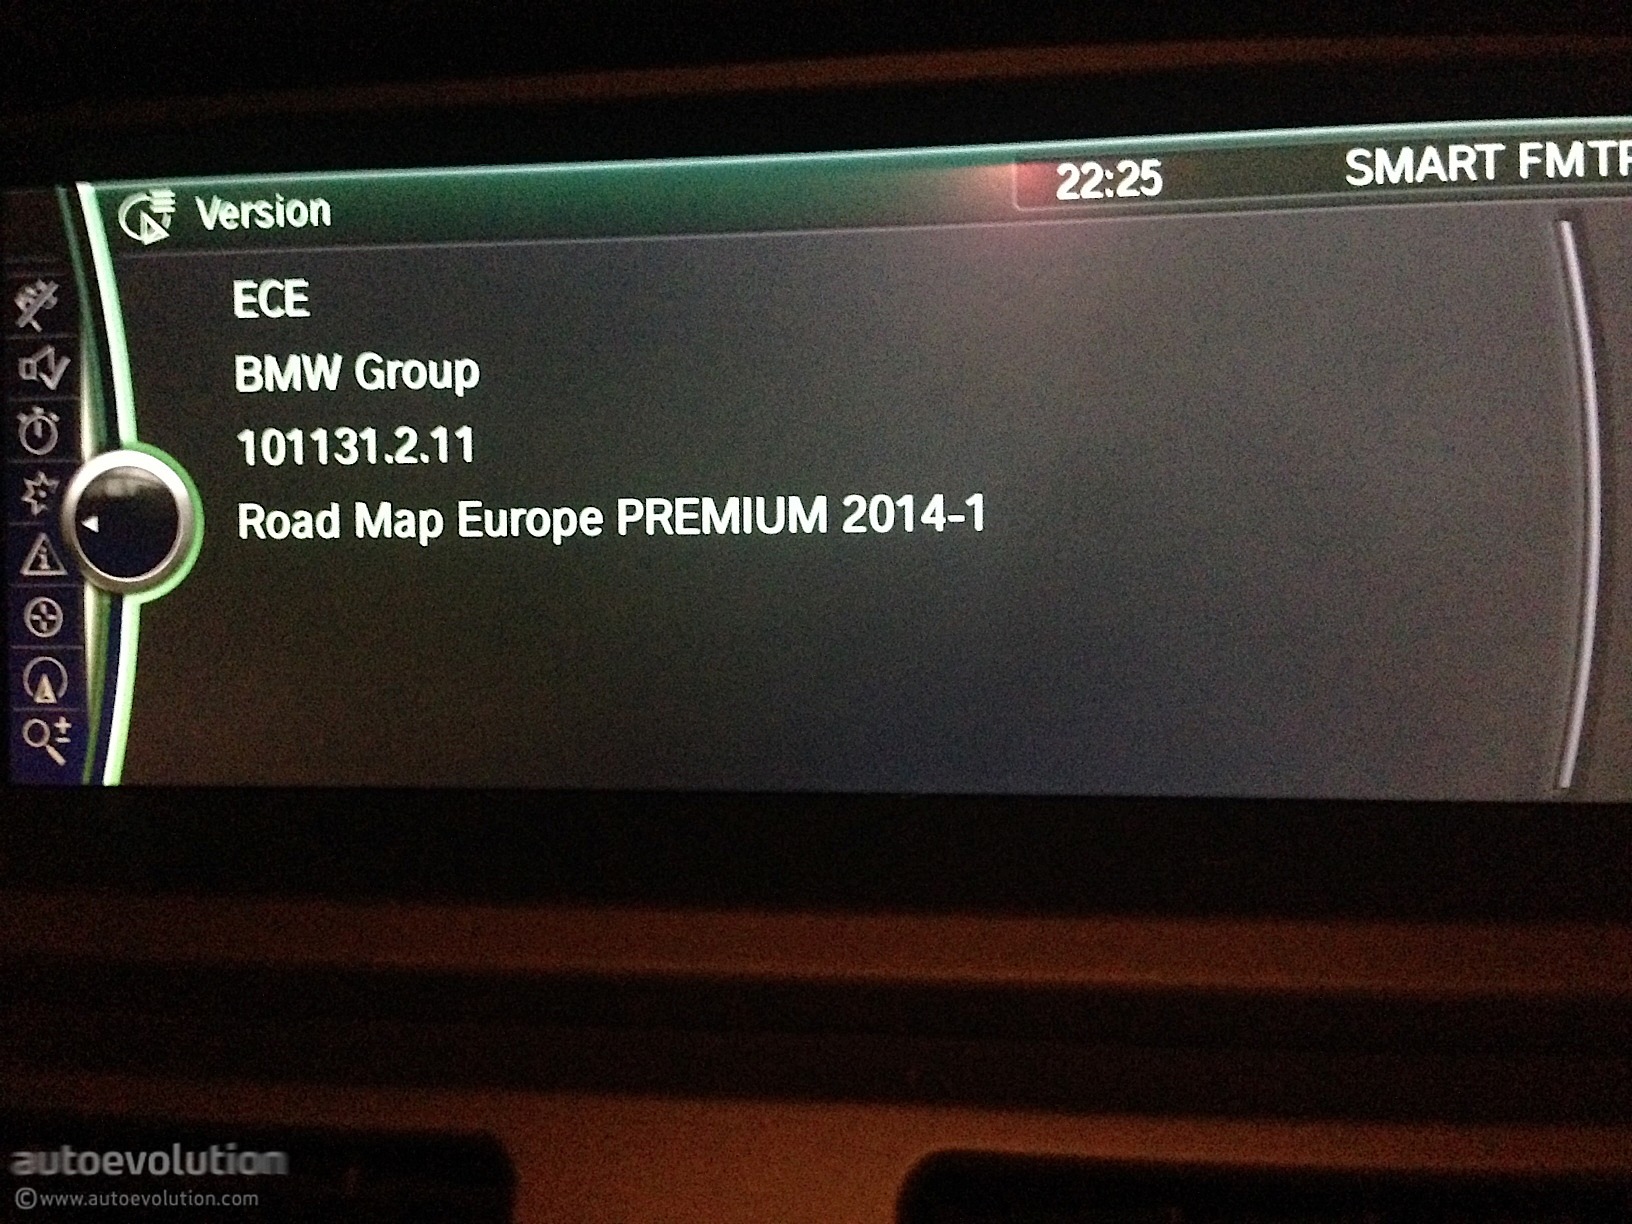
- Wait for it to finish loading the data and you're done! To verify the version, go to Navigation, Press Option Button on the iDrive and select Show Navigation Version. (you may need to restart the Navigation system again - press the volume button for 20s)
How to Upgrade the BMW Premium Navigation CIC - photo gallery


BMW 1 2009-2011 (E80 E81) 2011-2013 (F20 F21) BUSINESS MOTION (HDD)
1.BMW PROFESSIONAL NAVIGATION EUROPA 2011-2012

2.BMW BUSINESS NAVIGATION EUROPA 2011-2012

3. BMW NAVIGATION EUROPA 2011-2012


4.
BMW NAVIGATION EUROPA 2011-2012
BMW NAVIGATION EUROPA 2011-2012
BMW NAVIGATION EUROPA 2011-2012